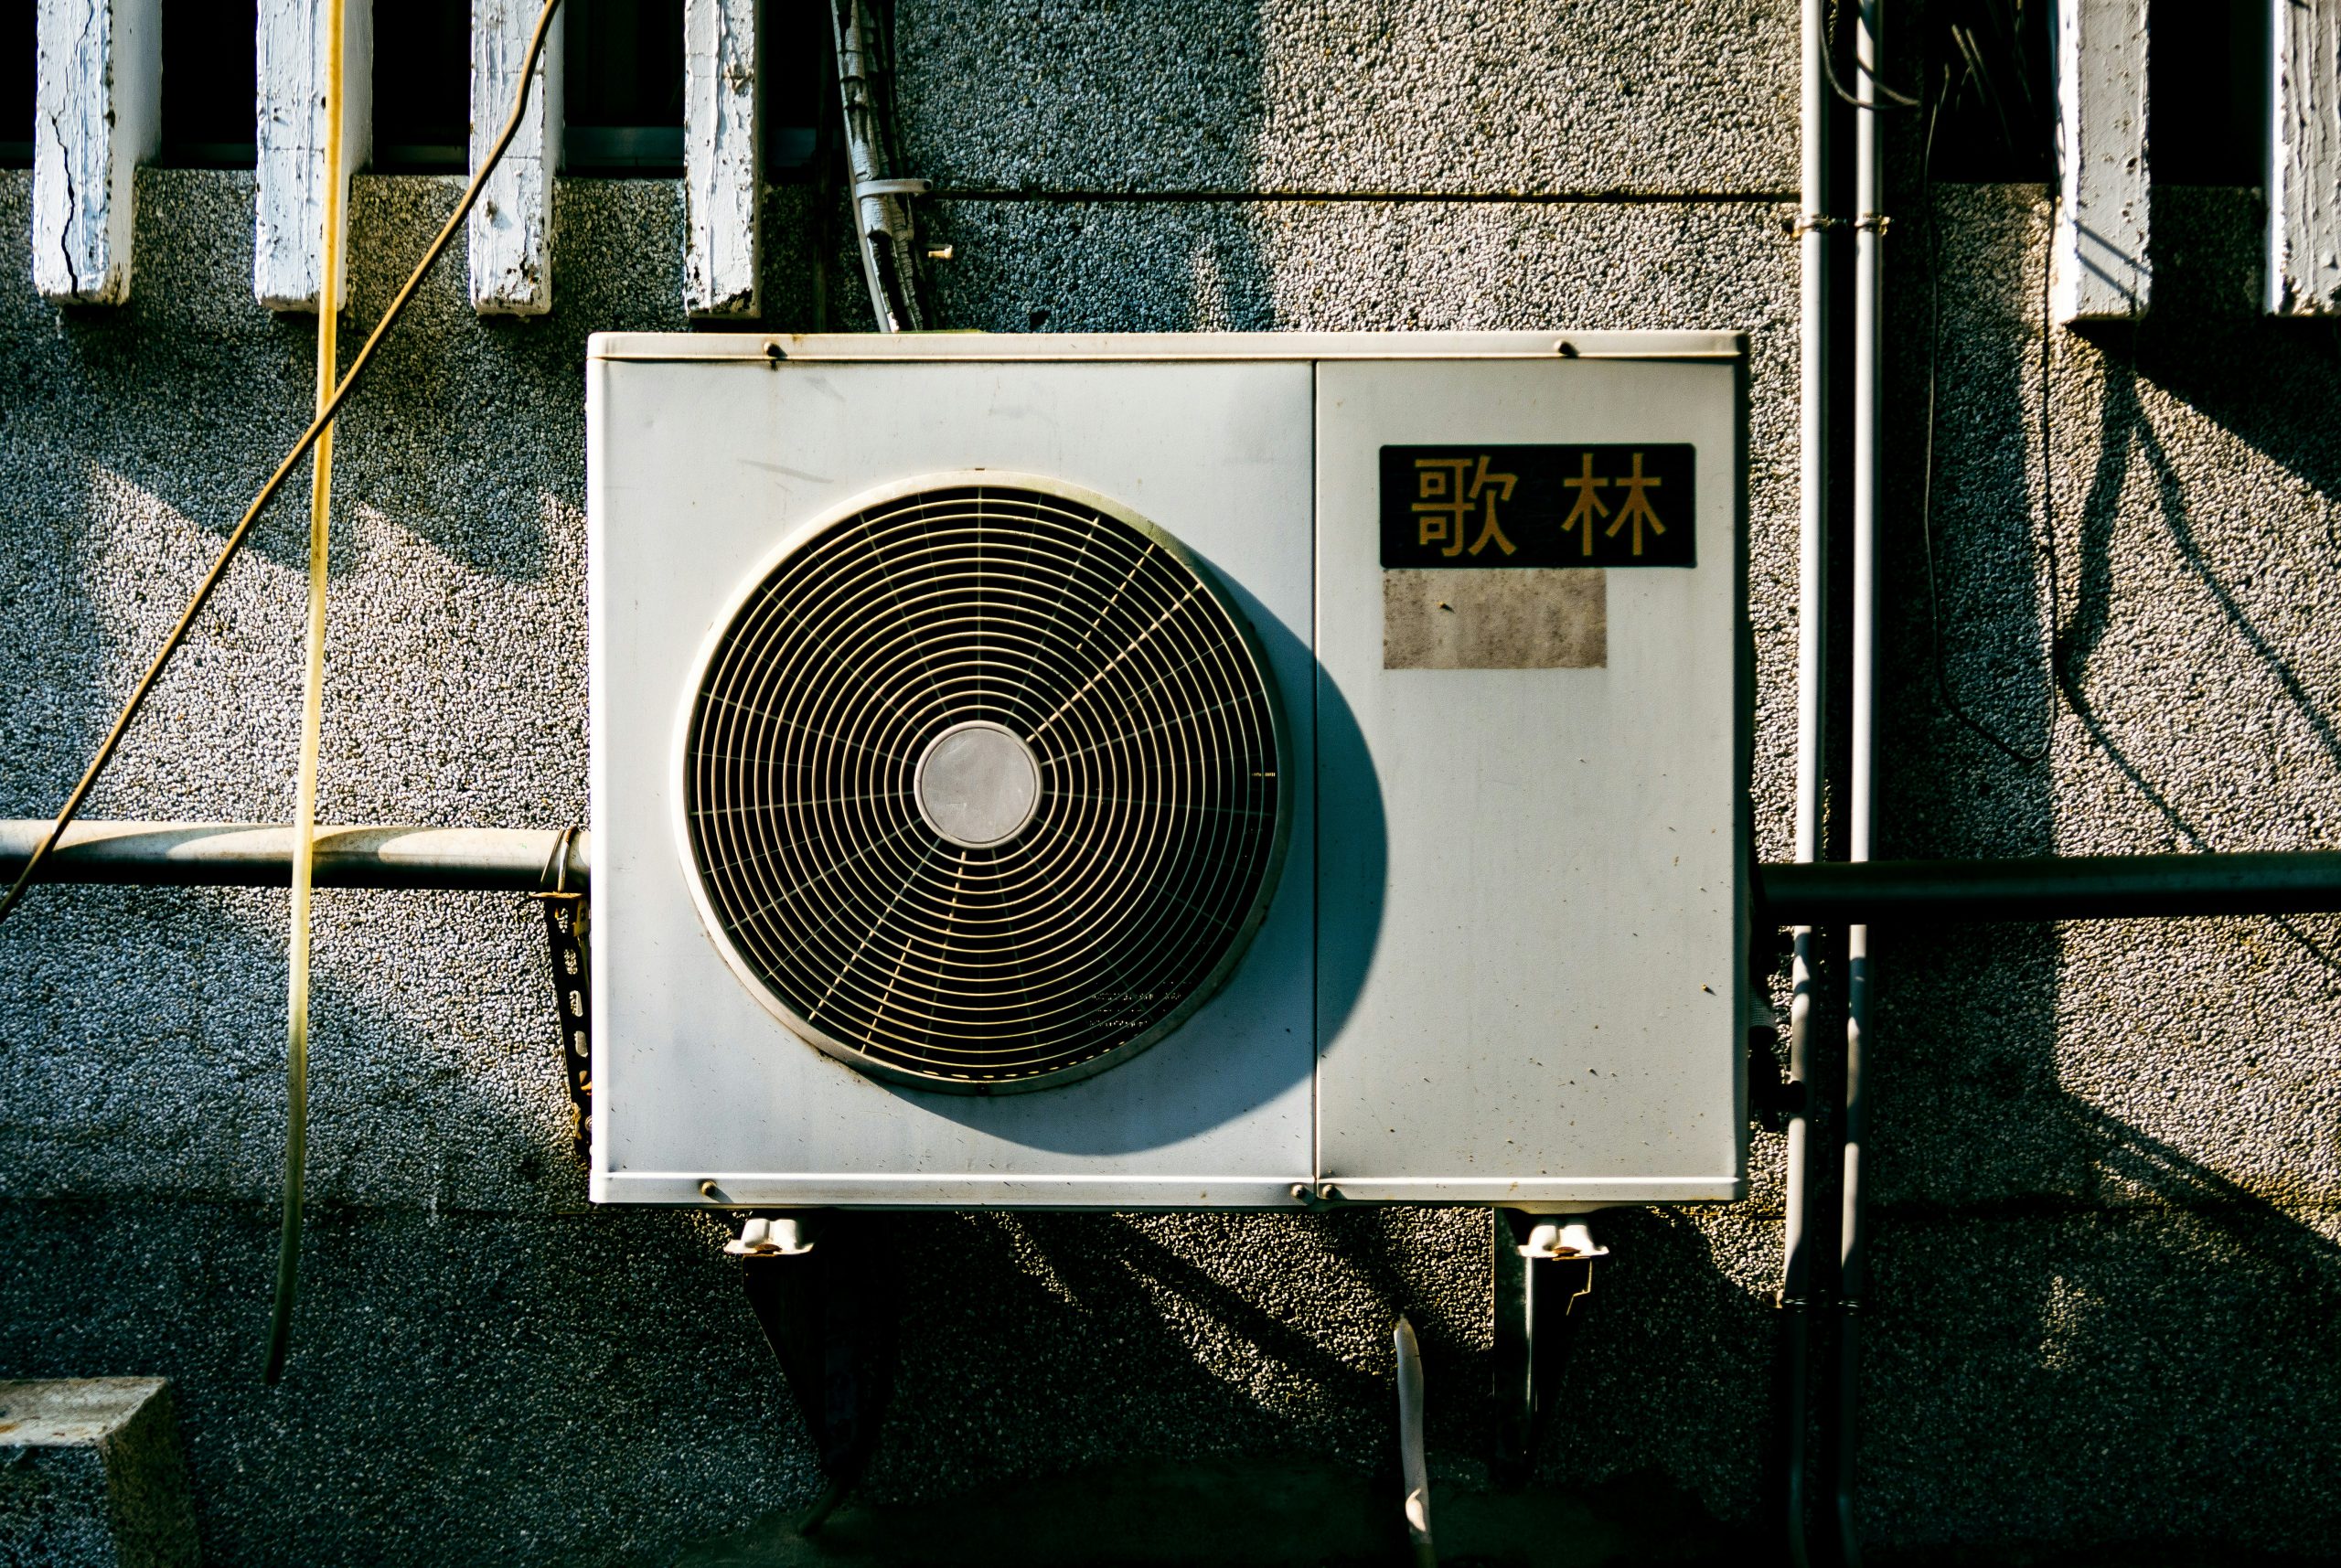
If your kitchen extractor fan has started working less efficiently, or you’ve noticed unpleasant smells, it may be time to give the filters some attention. Well-maintained filters help your extractor hood run smoothly, reduce fire risk, and keep air clean. Here is some advice from the experts of www.domex-uk.co.uk/appliance-repairs/extractor-hood-repairs/ .
Why Clean Extractor Fan Filters?
Your extractor hood is essential for venting steam, odours, and grease from cooking. Over time, the grease and grime build up, clogging filters and reducing airflow.
Keep in mind that fibre filters (cloth-like) become blocked, restricting suction and
Aluminium or mesh filters trap more debris, become heavy and less effective.
Filter neglect can lead to wear on fans and motors, making extractor hood repairs more likely and regular cleaning every 1–3 months ensures your hood performs and lasts longer.
Turn Off the Power
Before you start, cut power to your extractor fan. Flip the switch or unplug it entirely for safety and to make cleaning easier.
Remove the Filters
There are two main filter types – mesh or aluminium filters, which are often located behind the hood canopy. Charcoal filters are used in recirculating systems, which are typically housed behind the same latch.
You may also have an under-hood fibre grease filter or a multi-layer cassette filter, and always consult your owner’s manual for filter removal guidance. If in doubt, proceed slowly and refer to the manufacturer’s instructions.
Pre?Clean Drip and Debris
Lay down old towels or newspapers and tap each filter gently to dislodge loose debris. Avoid aggressive shaking, especially with aluminium filters, to protect the mesh structure.
Soak the Filters
For the aluminium or mesh filters, fill a sink or basin with very hot water and add 1-4 cup of baking soda and a few drops of dish soap. Submerge filters fully and leave for 15–30 minutes.
For Fibre and Grease Filters – soak in hot water with dish soap only – a fifteen-minute soak often does the trick; for heavily soiled filters, let them soak up to 30–45 minutes.
Scrub Gently
Using a soft?bristled brush or non?scratch sponge, lightly scrub filters to remove stuck-on grease. For aluminium filters, scrub along the mesh channels — avoid aggressive scouring to prevent damage and then rinse thoroughly until water runs clear.
Rinse and Dry
Rinse filters under hot running water until all soap and debris are gone, shake off excess water, and let them air?dry completely – this prevents fire risk when reinstalling them or using the hood while damp.
Inspect & Reinstall
Before reinserting, look for damaged mesh, broken frames, or loose charcoal media and then replace charcoal filters (not washable). If you spot tears or misshapen frames, it’s time for Extractor hood repairs — or just a filter replacement. Reattach filters securely; ensure they pop or latch in place to avoid falling during use.
Wipe Down the Hood Interior
While filters dry, dampen a cloth with warm soapy water and wipe out the hood interior, focusing on the fan housing, canopy, light covers, and front panel. Use a degreasing spray for stubborn build-up, then wipe clean and dry with a soft cloth.
This step makes filter reinstallation more effective and supports overall performance.
Optional Deep?Clean of Ducting & Fan Blades
If you’ve noticed rattling noises, poor suction, or lingering odour, it could be time for deep cleaning – detachable fan blades, remove and clean with hot water and degreaser.
Internal ducting and chassis – use a vacuum hose and soft brush to remove dust and grease. For tight spaces, apply a food?safe enzyme cleaner and rinse as directed, and if the motor housing seems clogged or damaged, consider professional Extractor hood repairs.
When to Call in the Professionals?
Knowing when to DIY versus hiring a repair expert is key. Call a professional (extractor hood repairs) if the filters are damaged or missing. If the motor hums, the fan rattles, or the airflow is poor, you also have to call for professional assistance for appliance repair and home services like those from www.domex-uk.co.uk/appliance-repairs/extractor-hood-repairs/.
If the heat sensors or electronics are malfunctioning, and you can’t access all parts safely. Then another reason is that the exhaust duct collapsed, kinked, or is leaking or sparks, burning smell, or smoke during hood operation.
Pro Tips for Easy Maintenance
Clean filters monthly with heavy cooking every 3 months and replace charcoal filters every 6–12 months, depending on use. Use degreasers safely — spray on, wait a few minutes, then wipe; avoid electronics.
Don’t overlook lights—swap out bulbs and ensure light covers are grease-free and vent check—if using an extraction hood system, inspect the external vent for blockages or rodent nests seasonally. Record keeping—note cleaning dates; it helps prevent overlooked maintenance.
Turn off power to the vent hood, remove filters, tap off debris, and soak in hot, soapy water (with baking soda for mesh). Scrub gently, rinse thoroughly, and air-dry completely and inspect frames and media—replace or repair if damaged.
Clean the hood interior and light covers, and perform a deep clean on the blades and ducting if needed. Call specialists for mechanical or electrical issues — your extractor hood is in good hands with proper Extractor hood repairs.
Looking for Professional Assistance?
If you have broken filter clips, a failing fan motor, worn carbon filters, or any signs of mechanical issues, don’t hesitate to go the professional route. At Domex-style appliance service, we offer expert filter replacement and cleaning guidance. Also, detailed extractor hood repairs, component servicing, and safety checks on wiring, lights, and exhaust systems. Protect your kitchen and stay worry-free.
A clean extractor hood filter isn’t just about looks — it’s essential for safety, performance, and appliance longevity. With basic tools, kitchen products, and optional professional support, keeping your hood in top condition is straightforward. And when it comes to more complex repairs, investing in reliable Extractor hood repairs ensures you restore full functionality, with the peace of mind that your kitchen ventilation system is safe, efficient, and ready for anything.


